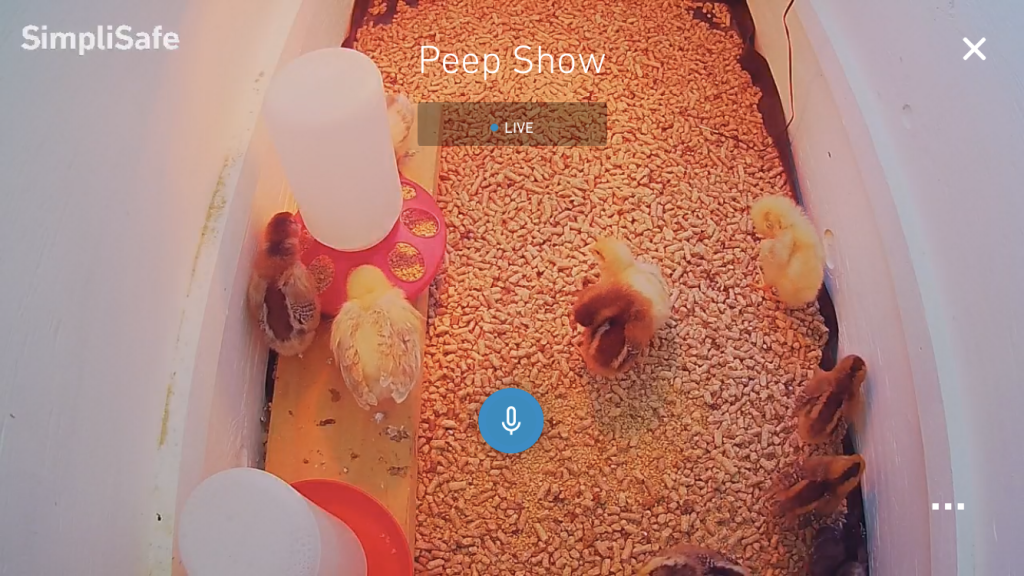
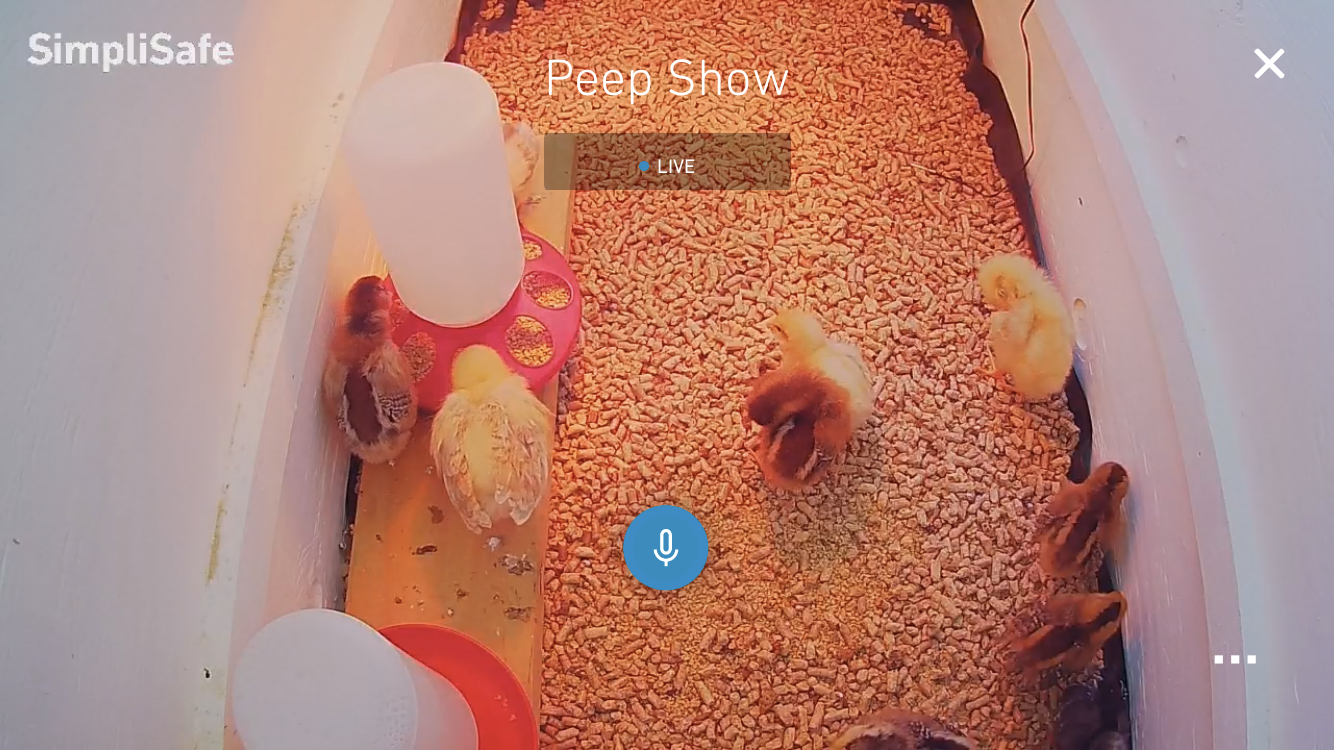
It’s coming. The season where us chicken addicts have trouble entering the feed store because of that peep peep peeping taunting us with their cuteness. They’re begging us to take them home.
Or in my case, I made the mistake excellent decision to follow my favorite local chicken breeder on Facebook. Chicken math, it gets you eventually, without fail.
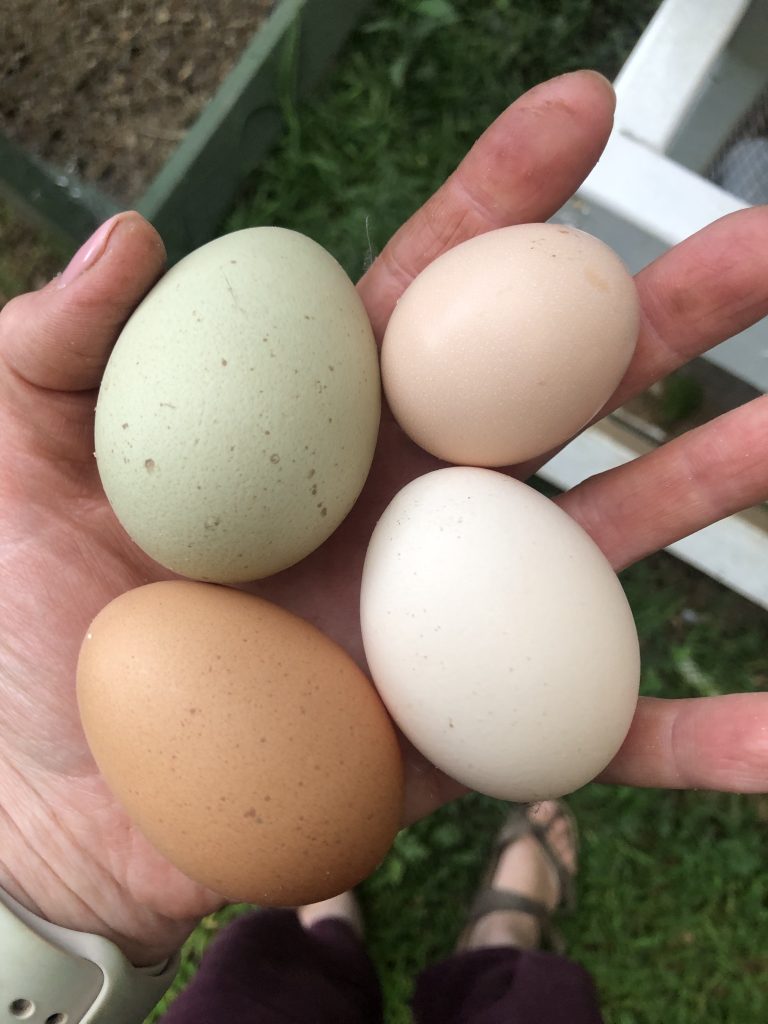
You see, chicken math is the phenomenon where you start out thinking that you need just 5 chickens to provide the eggs you need. But then you realize that if you only had these other breeds, your egg basket would have so many more fun colors. And because while chickens can be incredibly resilient, they are also fragile and manage to die in new, unexpected ways. An enigma. So you really need to stack the deck in your favor and have some extras around for when the inevitable happens. And then you decide to stagger your flock to always have eggs even through the winter, so you just keep getting more – even significantly expanding your coop situation to accommodate them.

So really, it’s practically my duty to help prepare you ahead of time for when the inevitable happens and you fall prey to chicken math.
There are a couple of different methods for brooding chicks yourself instead of having a broody hen hatch them.
The more traditional method is to utilize a heat lamp, and that is what I started with as well. At the recommendation of my breeder, I purchased a thermometer online that I could set the upper/lower temperatures and it would automatically turn the light on and off as needed to maintain that temperature range. This helps avoid a whole host of problems which I will detail in a future post.

Make sure that the thermometer is located down in the brooder box at the same level of the chicks, and directly under the light where it’d be hottest, so that the chicks can then move away from the light and cool off if needed. The range I usually use is topped out at the highest recommended temperature, then about 5 degrees below that for the low – this way the thermometer doesn’t have your light flipping back and forth constantly between a 1 degree difference.
The heat lamp can be utilized inside of a heated home/building or in an unheated barn. But it is absolutely imperative to take precautions to avoid a fire because without doing so, there is significant risk. Make sure to use the metal guard that came with the heat lamp to protect things from hitting the light bulb which could cause it to shatter, exposing the heating element which could cause a fire. When hanging the heat lamp, do not rely on the clamp of the lamp alone, also utilize a metal chain as a fail-safe to keep the lamp from falling down into the chicken litter.
The temperature that the chicks require changes each week (another reason to get that thermometer), this will help them to feather out on an appropriate timeline as well. The chicks can be moved to the coop when they are FULLY feathered – no chick fuzz left on them at all. If your coldest temperature (day or night), is at or above the temperatures listed below, then you do not necessarily need to keep them in the brooder any longer, use your best judgement. Chicks that are not fully feathered are NOT water resistant and cannot regulate their own temperature.
Below is the list of brooder temperatures based on the chick’s age:
- Week 1: 95F (30-35C)
- Week 2: 90F (27-32C)
- Week 3: 85F (24-29C)
- Week 4: 80F (21-26C)
- Week 5: 75F (19-23C)
- Week 6: 70F (17-20C)
- Week 7: 65F (15-17C)
- Week 8: 60F (13-14C)
The other option is ONLY to be used when temperatures are at or above 60F (15.5C) – usually this is inside a temperature controlled building, but could also work in a location like an unheated/uncooled barn if the ambient temperatures do not go below 60F or above 100F. A brooder plate requires less precautions than a heat lamp as it does not cause an immediate fire hazard (this of course does not apply if the cord is worn and exposed or is damaged – use your best judgement and take appropriate precautions such as NOT using a damaged brooder plate).
A brooder plate is intended to mimic the mother hen, where the chicks huddle underneath her for warmth. My brooder plate also doubles as a heater which makes it much warmer – make sure you click it on the ‘brooder’ setting so that the chicks don’t get too hot. Another precaution that I had to learn the hard way? Prop the brooder plate up at an angle so that the chicks don’t stand on top of it. Like their adult counterparts, chicks poop…. a whole lot. And let me tell you, if you think it smells bad fresh out of the chicken, you don’t want to smell it heated up on a brooder plate. Make sure that it is secured while propped up so that there are no unfortunate accidents where the plate slips and injures a chick. With the brooder plate, there is no fiddling with changing the temperature each week – though you will need to raise it up as the chicks grow so that they can still fit underneath as they get older and taller.
The brooder box should ideally not be a cardboard box – both for fire safety and chicks are very messy, cardboard would not last long. I have a large, deep wooden box with a closable lid that has large cutouts covered with hardware cloth so they have adequate ventilation but cannot fly out as they grow in their feathers. I have heard of others using things like plastic kid’s pools or deep metal livestock watering tanks.
An important note for allergies and for your sanity – aside from the smells that come from their waste, chicks produce a LOT of dust. This is not only from their litter but also produced by the baby fluff feathers falling out and breaking down as the true feathers start to grow in. I was NOT at all prepared for the sheer amount of dust even just a few chicks can produce.
Now for the litter – I typically use the compressed pine pellets from the local farm store, but I’ve also used pine shavings. It is VERY important to not use cedar shavings with chicks or adult chickens because the oils/fumes can cause respiratory problems. This litter will need to be cleaned/changed often so that the chickens do not get a buildup of waste on their feet, burns from the ammonia, or respiratory problems.
For feed, make sure you have the chicks on a chick starter or an ‘all flock’ type of feed or they will not get the appropriate nutrients and may develop vitamin deficiencies which could cause deformities or even death. If you are ONLY feeding chick starter that is water soluble, you do not need to provide additional grit while they are in the brooder. It wouldn’t hurt anything to have it in there available to them though. Grit is necessary if they are on an ‘all flock’ feed or if they are getting treats such as leafy greens, fruit, or scratch (any treats should be given sparingly).
Chicks should always have clean water available to them, and this may mean changing it several times per day depending on how messy they are. I’ve found that slightly elevating the waterer on a small block of wood so it’s just above the litter helps to keep it cleaner for longer.
When the chicks are fully feathered and ready for the coop, the introduction will depend on if you have other chickens already.
If your coop is empty and waiting for those chicks, then you can just put them out there. If you plan on free ranging them, make sure to keep the chicks locked in the coop/run area for about a week or two so that they recognize this as their home and where they need to return at the end of the day.
If you already have a flock, you will need to take precautions or the adults will attack and potentially kill the new babies being introduced. If you have the space for an introduction section of your coop/run that is blocked by chicken wire or hardware cloth so the other chickens can see the chicks but not attack them, keep them in that for a week or two before introducing them (while supervising to see how it goes). If you do not have such a space, I’ve found that having the chicks in a dog crate with either chicken wire or hardware cloth to keep the chicks in and large chickens out works well. This should also be done for a week or two before letting them intermingle. Keep in mind that with this option, you will need to have somewhere safe to put the chicks at night if they can’t go in the coop and are in a wire crate. They will need protection from the elements as well as protection from predators. I had a large plastic travel dog crate to use so it was protected pretty well from the weather (I did prop wood up at an angle to keep rain out while still allowing appropriate air flow), but I also attached hardware cloth (NOT chicken wire) over the slatted metal door and windows to keep predators (raccoons in particular) from reaching in and attacking the chicks.
Do not be alarmed if there is some pecking & squawking during introductions – the pecking order is real and what looks intense to us is typically nothing to be alarmed about. However, if you do see extensive bullying or if blood is drawn, you’ll need to remove the chicks and try again later. If blood has been drawn you will need to let that heal fully – chickens will peck another chicken to death at the sight of blood.
I hope this helps to prepare you for when chicken math strikes, it’s truly an irresistible force!

