After placing taps in five of our maple trees last night, I was delighted to find a decent amount of sap had collected overnight! Altogether, they filled a 5 gallon bucket.
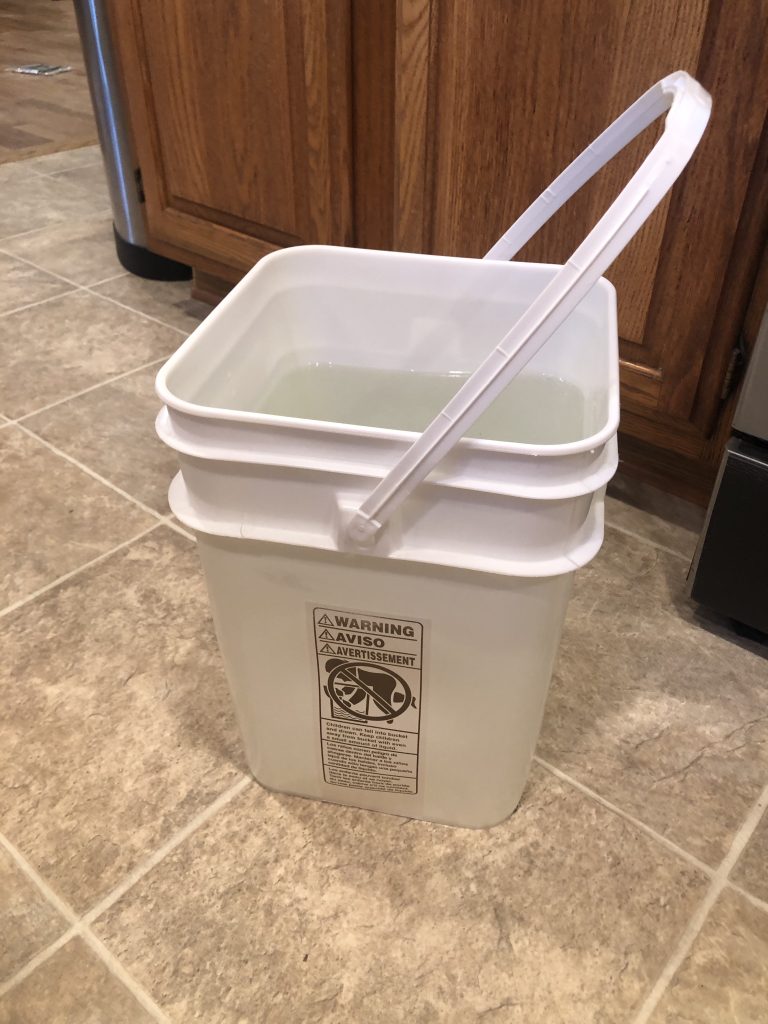
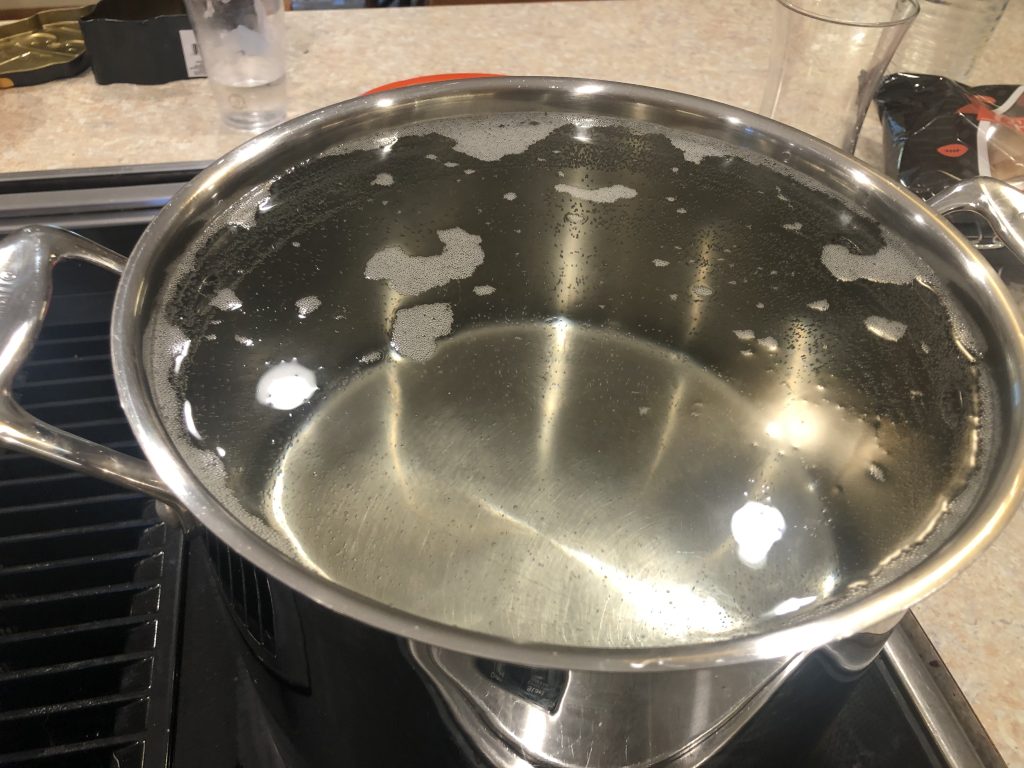
I filtered the sap, then added it to a wide, deep skillet and a stock pot. The stock pot is my reservoir to keep the sap hot and at or near the boiling point, then the wide skillet is where I boil off the majority of the water from the sap.
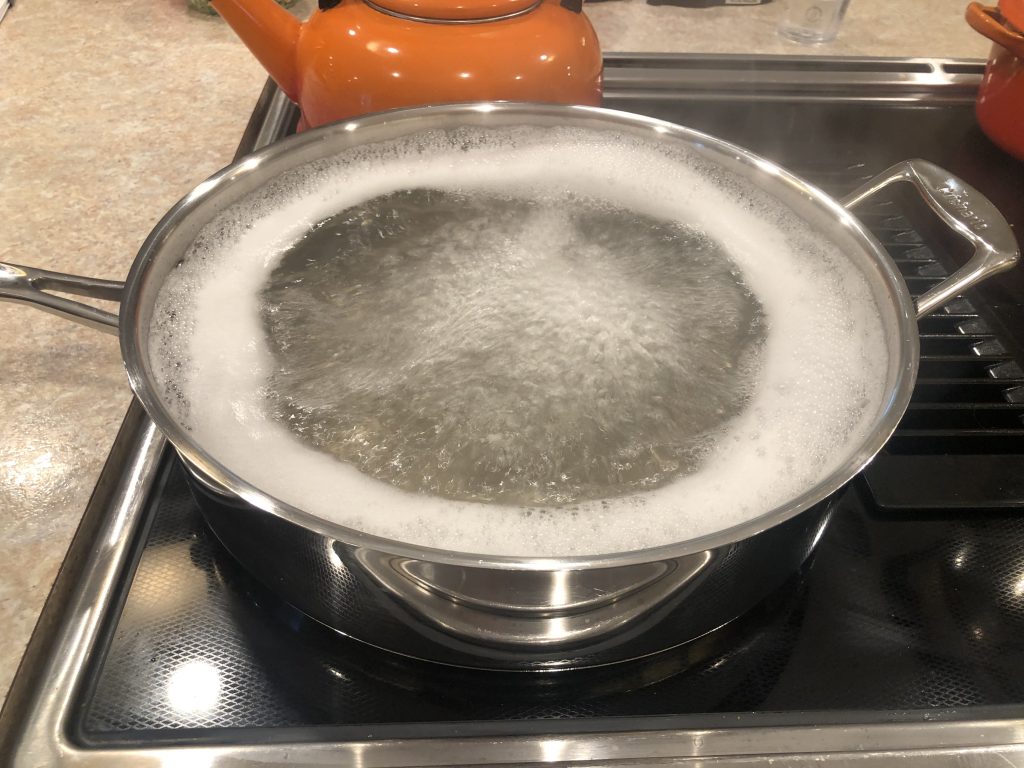
As the water evaporates, I take hot sap from the stock pot and add it to the skillet.
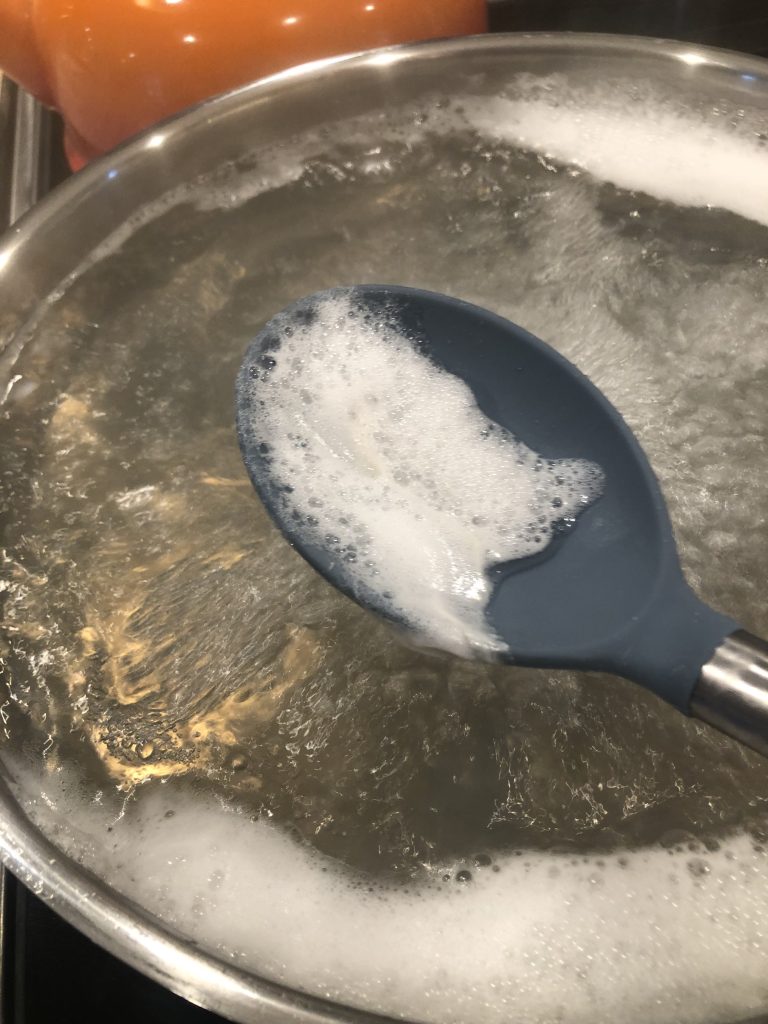
For clearer syrup, it’s important to skim the foam that will collect on top and discard it.
While I had had a slow boil going, a friend joined us to help out with tapping. This year we have tapped both silver and sugar maples, as well as taking a shot at tapping black walnuts for the first time! We’ll see tomorrow how much sap I’m getting from the black walnuts, from what I’ve read so far, they do not produce as much sap and it has a lower sugar content plus a high pectin content, which makes it difficult to produce syrup from it.
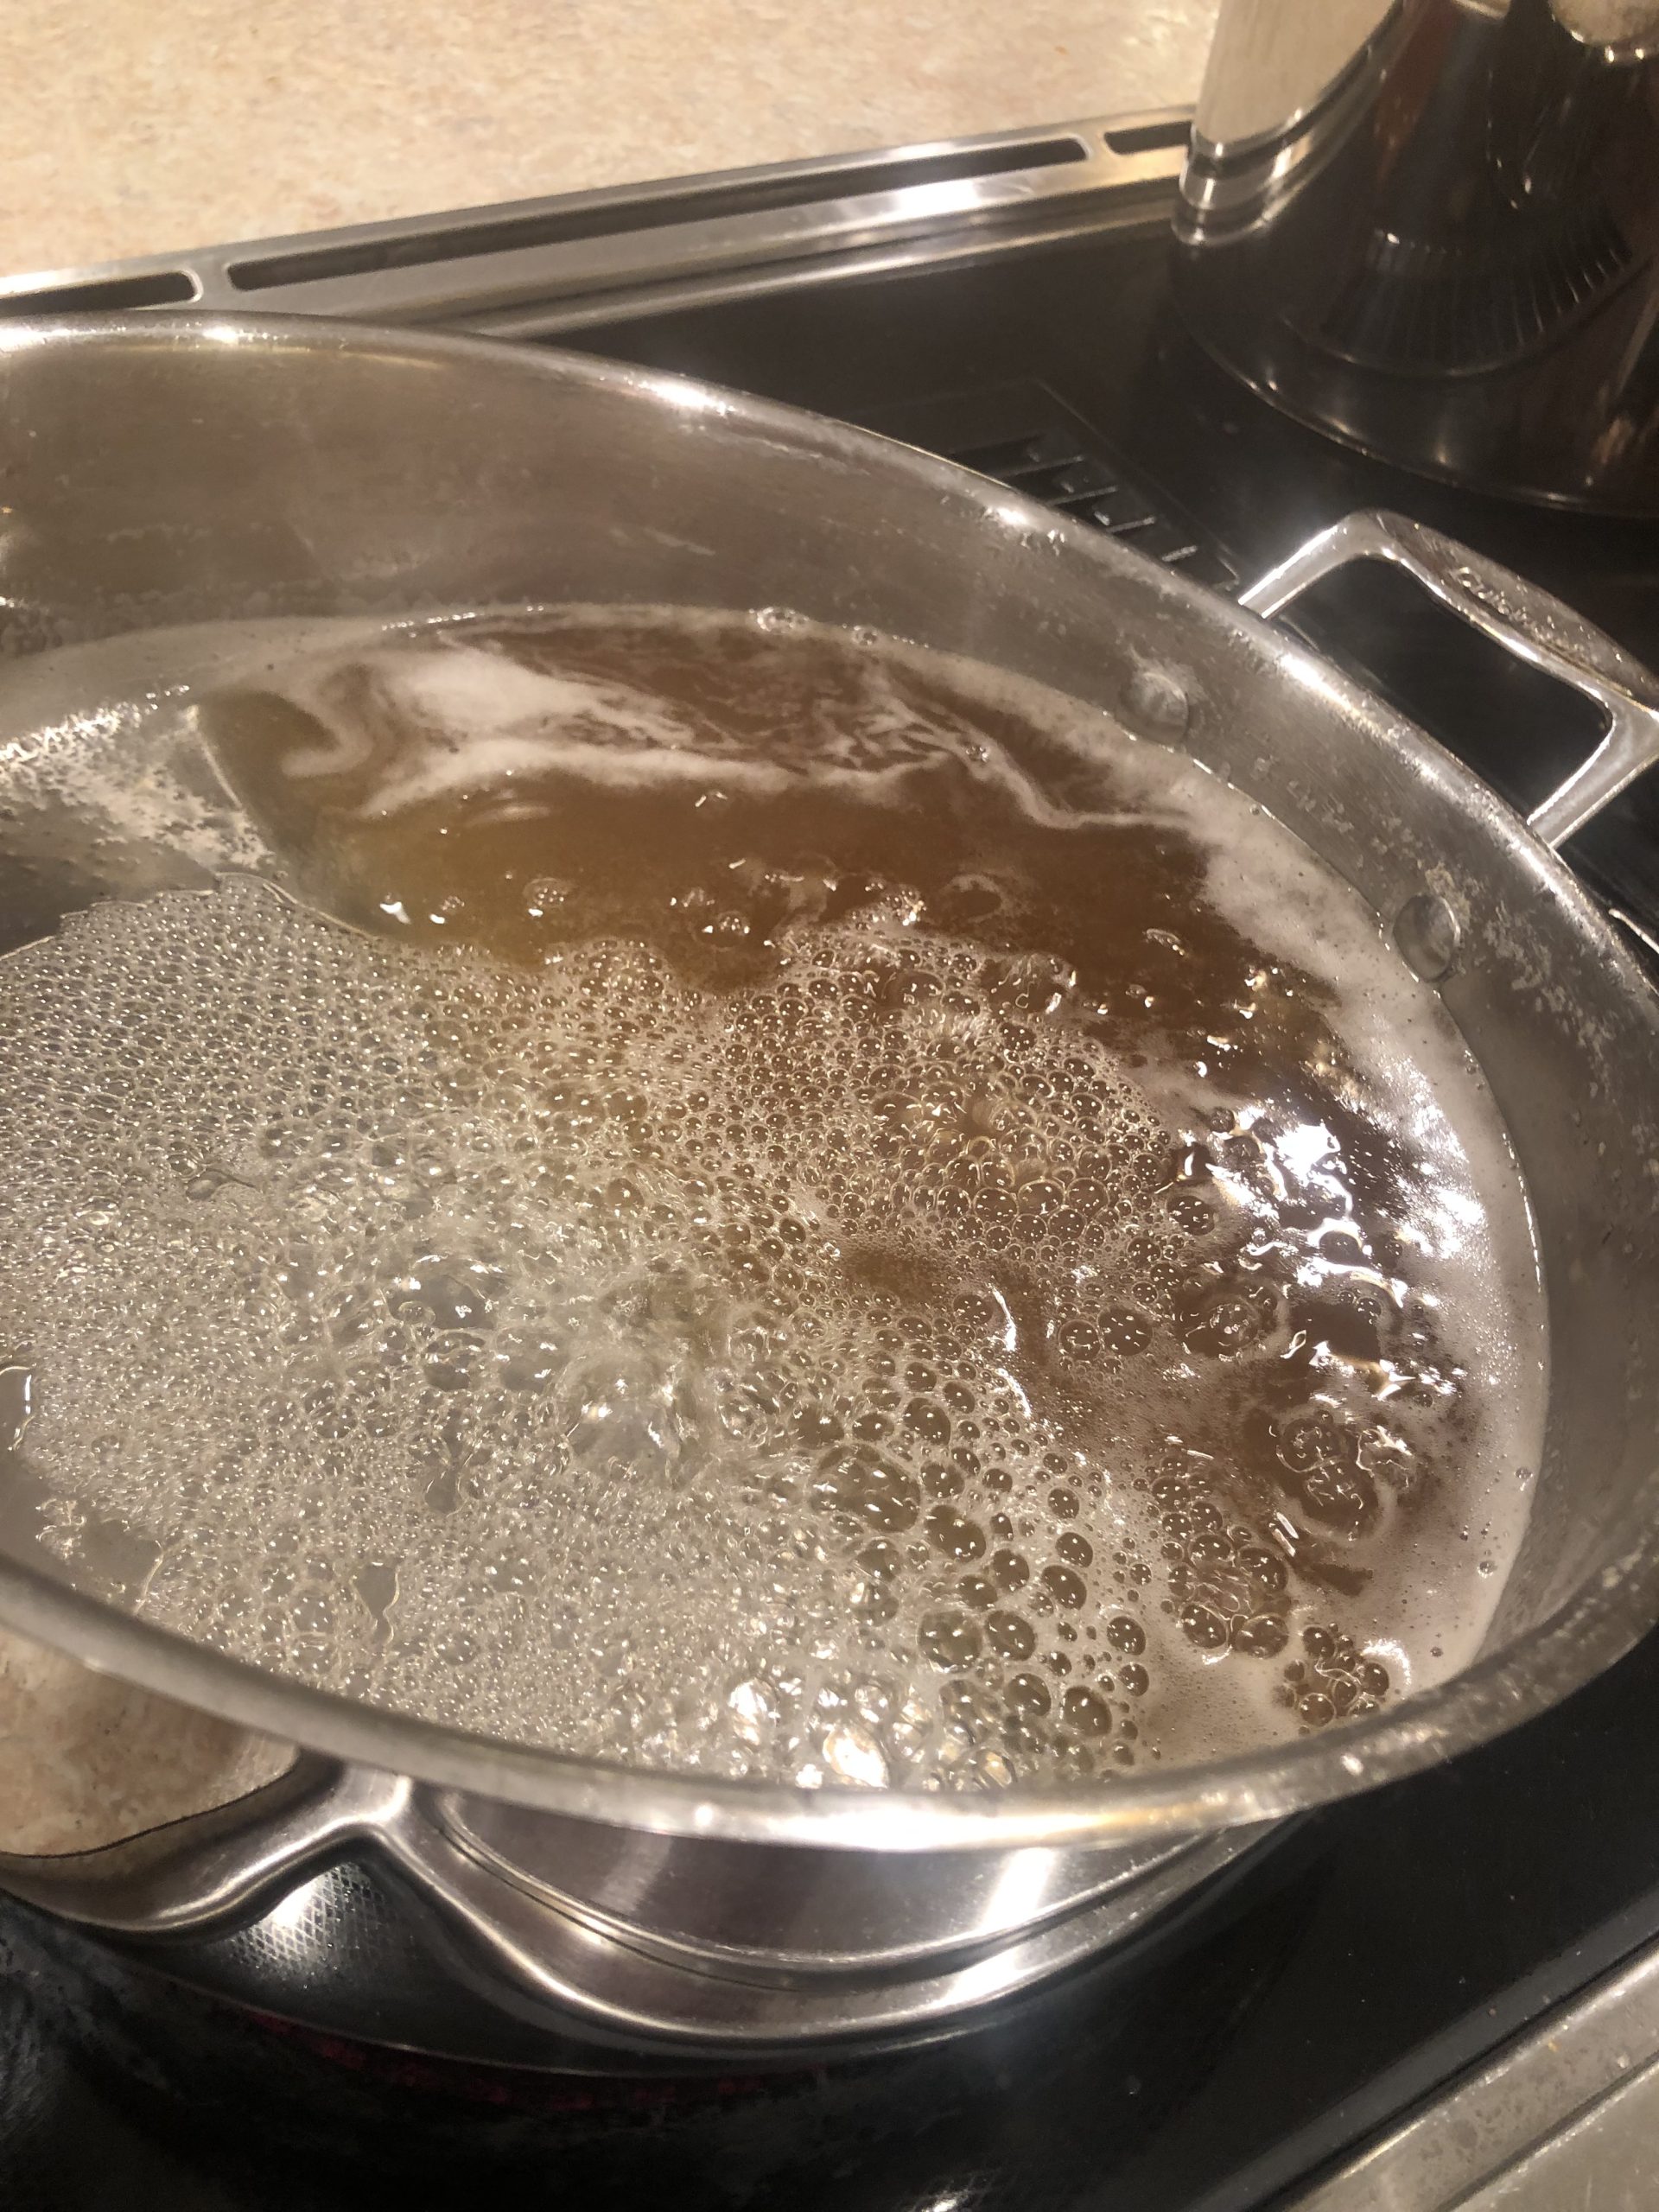
After getting all of the taps and food-safe sap collection buckets in place, I went in to check on my boil. The sap was starting to concentrate and is developing the brown shade that we associate with maple syrup. I added additional sap and then gathered one final harvest of sap before it got dark outside.
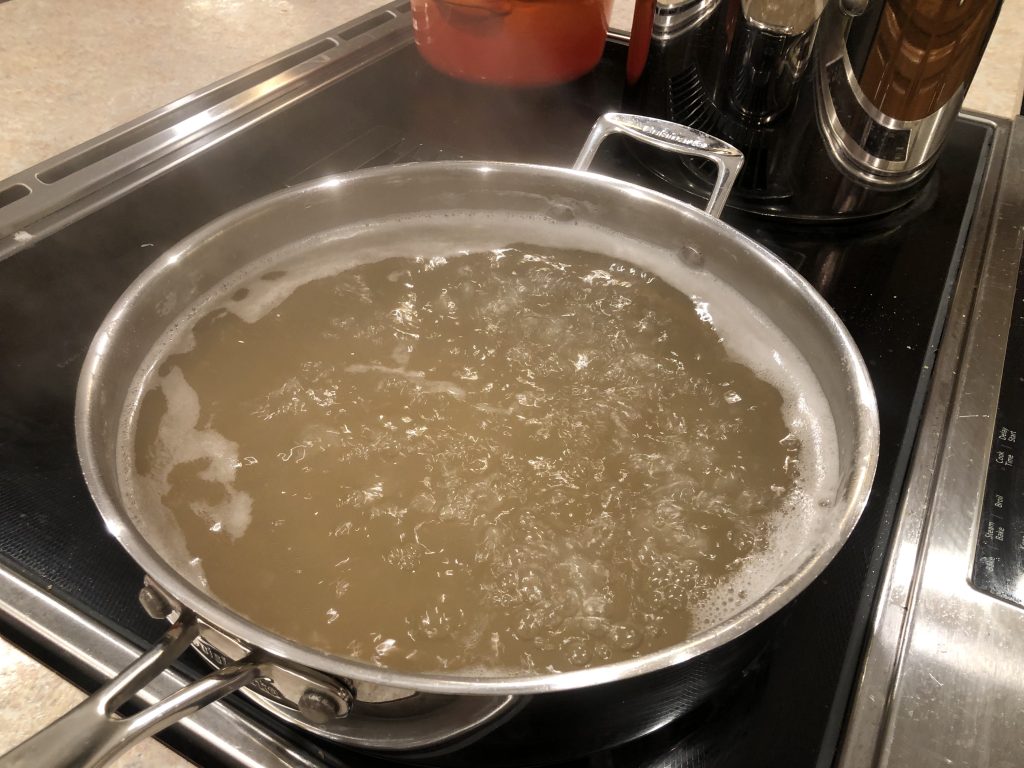
I’ll likely be continuing to boil fairly late since I got started much later than usual.
I have an instant read thermometer that I keep handy especially as I get further along in the boil. The temperature that I’m looking for is 7 degrees above where water boils. So since water boils at 212 F, I need it to read 219 F. As the sap gets more concentrated, the mixture needs to maintain a higher temperature to continue boiling – this is how you can tell it is the right thickness.
What I like to do is also go by mouth feel. The best way to achieve this is to keep several spoons in ice water nearby. When you think the syrup is finished, you can take a spoon out of the icy water, dry it off quickly, then use another spoon to drop a little bit of the syrup on the spoon. Give it a few seconds to cool it off, then taste it and see if it’s at the correct viscosity. It’s important that you do NOT reuse the spoon and potentially taint the batch with saliva/bacteria, so I make sure I have several spoons in the icy water ready to use.
Now midnight, I just finished boiling the sap down to syrup for the day. From approximately 7 gallons of sap, I ended up with a bit less than a quart of syrup.
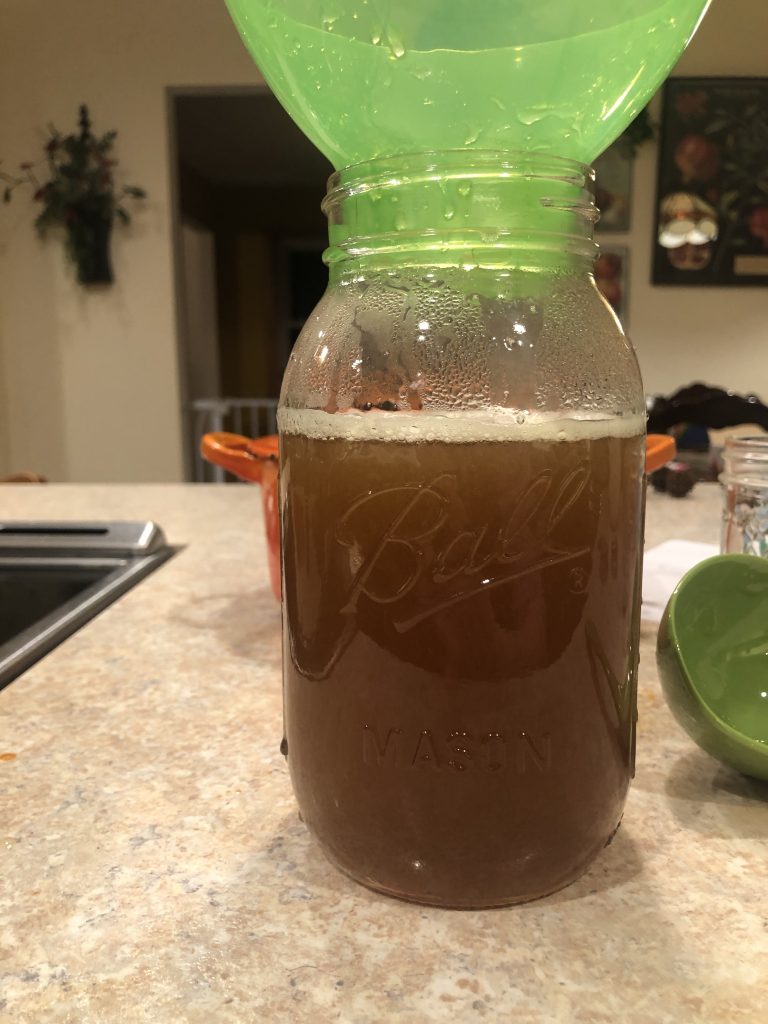
For tonight, I will let the syrup cool and the remaining fiber settle to the bottom. The fiber is completely harmless and edible, but it does give a cloudy look to the syrup. We like to give our syrup to friends and family, so I’m trying this year to clarify the syrup better.
Tomorrow after it’s settled, I will pour off the clear top portion of the syrup, reheat it, then put in the prepared jars. Putting it in hot will allow the ring to seal the lid on the syrup as it cools. I don’t waste the cloudy fibrous syrup though, we will use it for ourselves; it has no different taste or texture to it.

