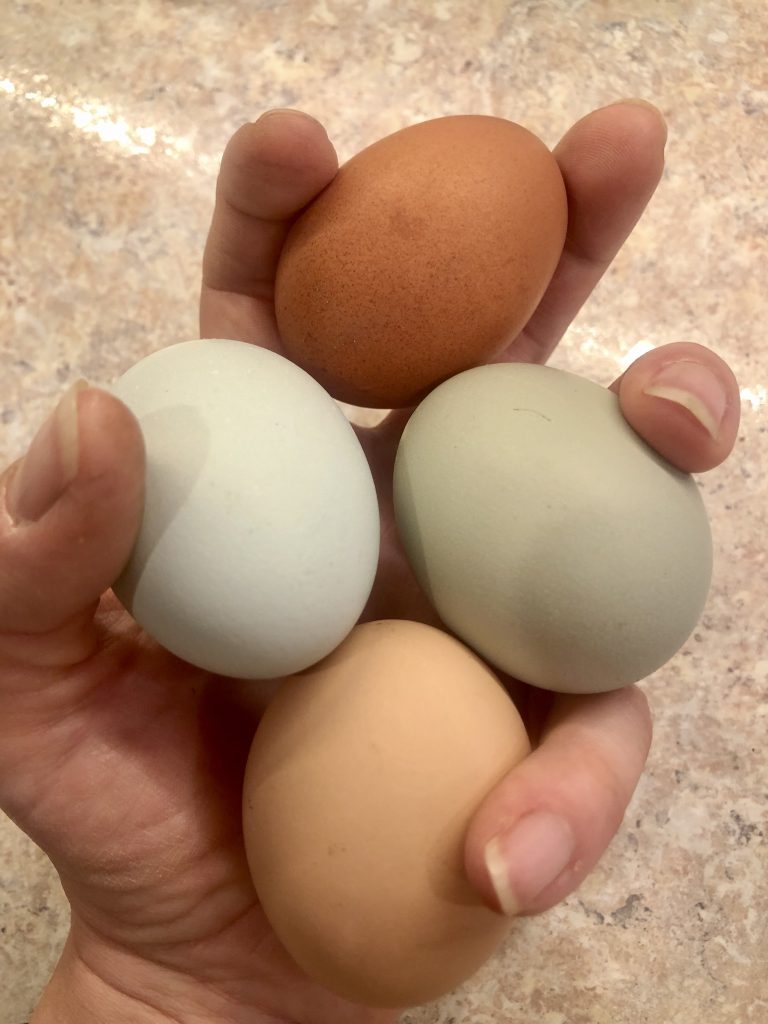
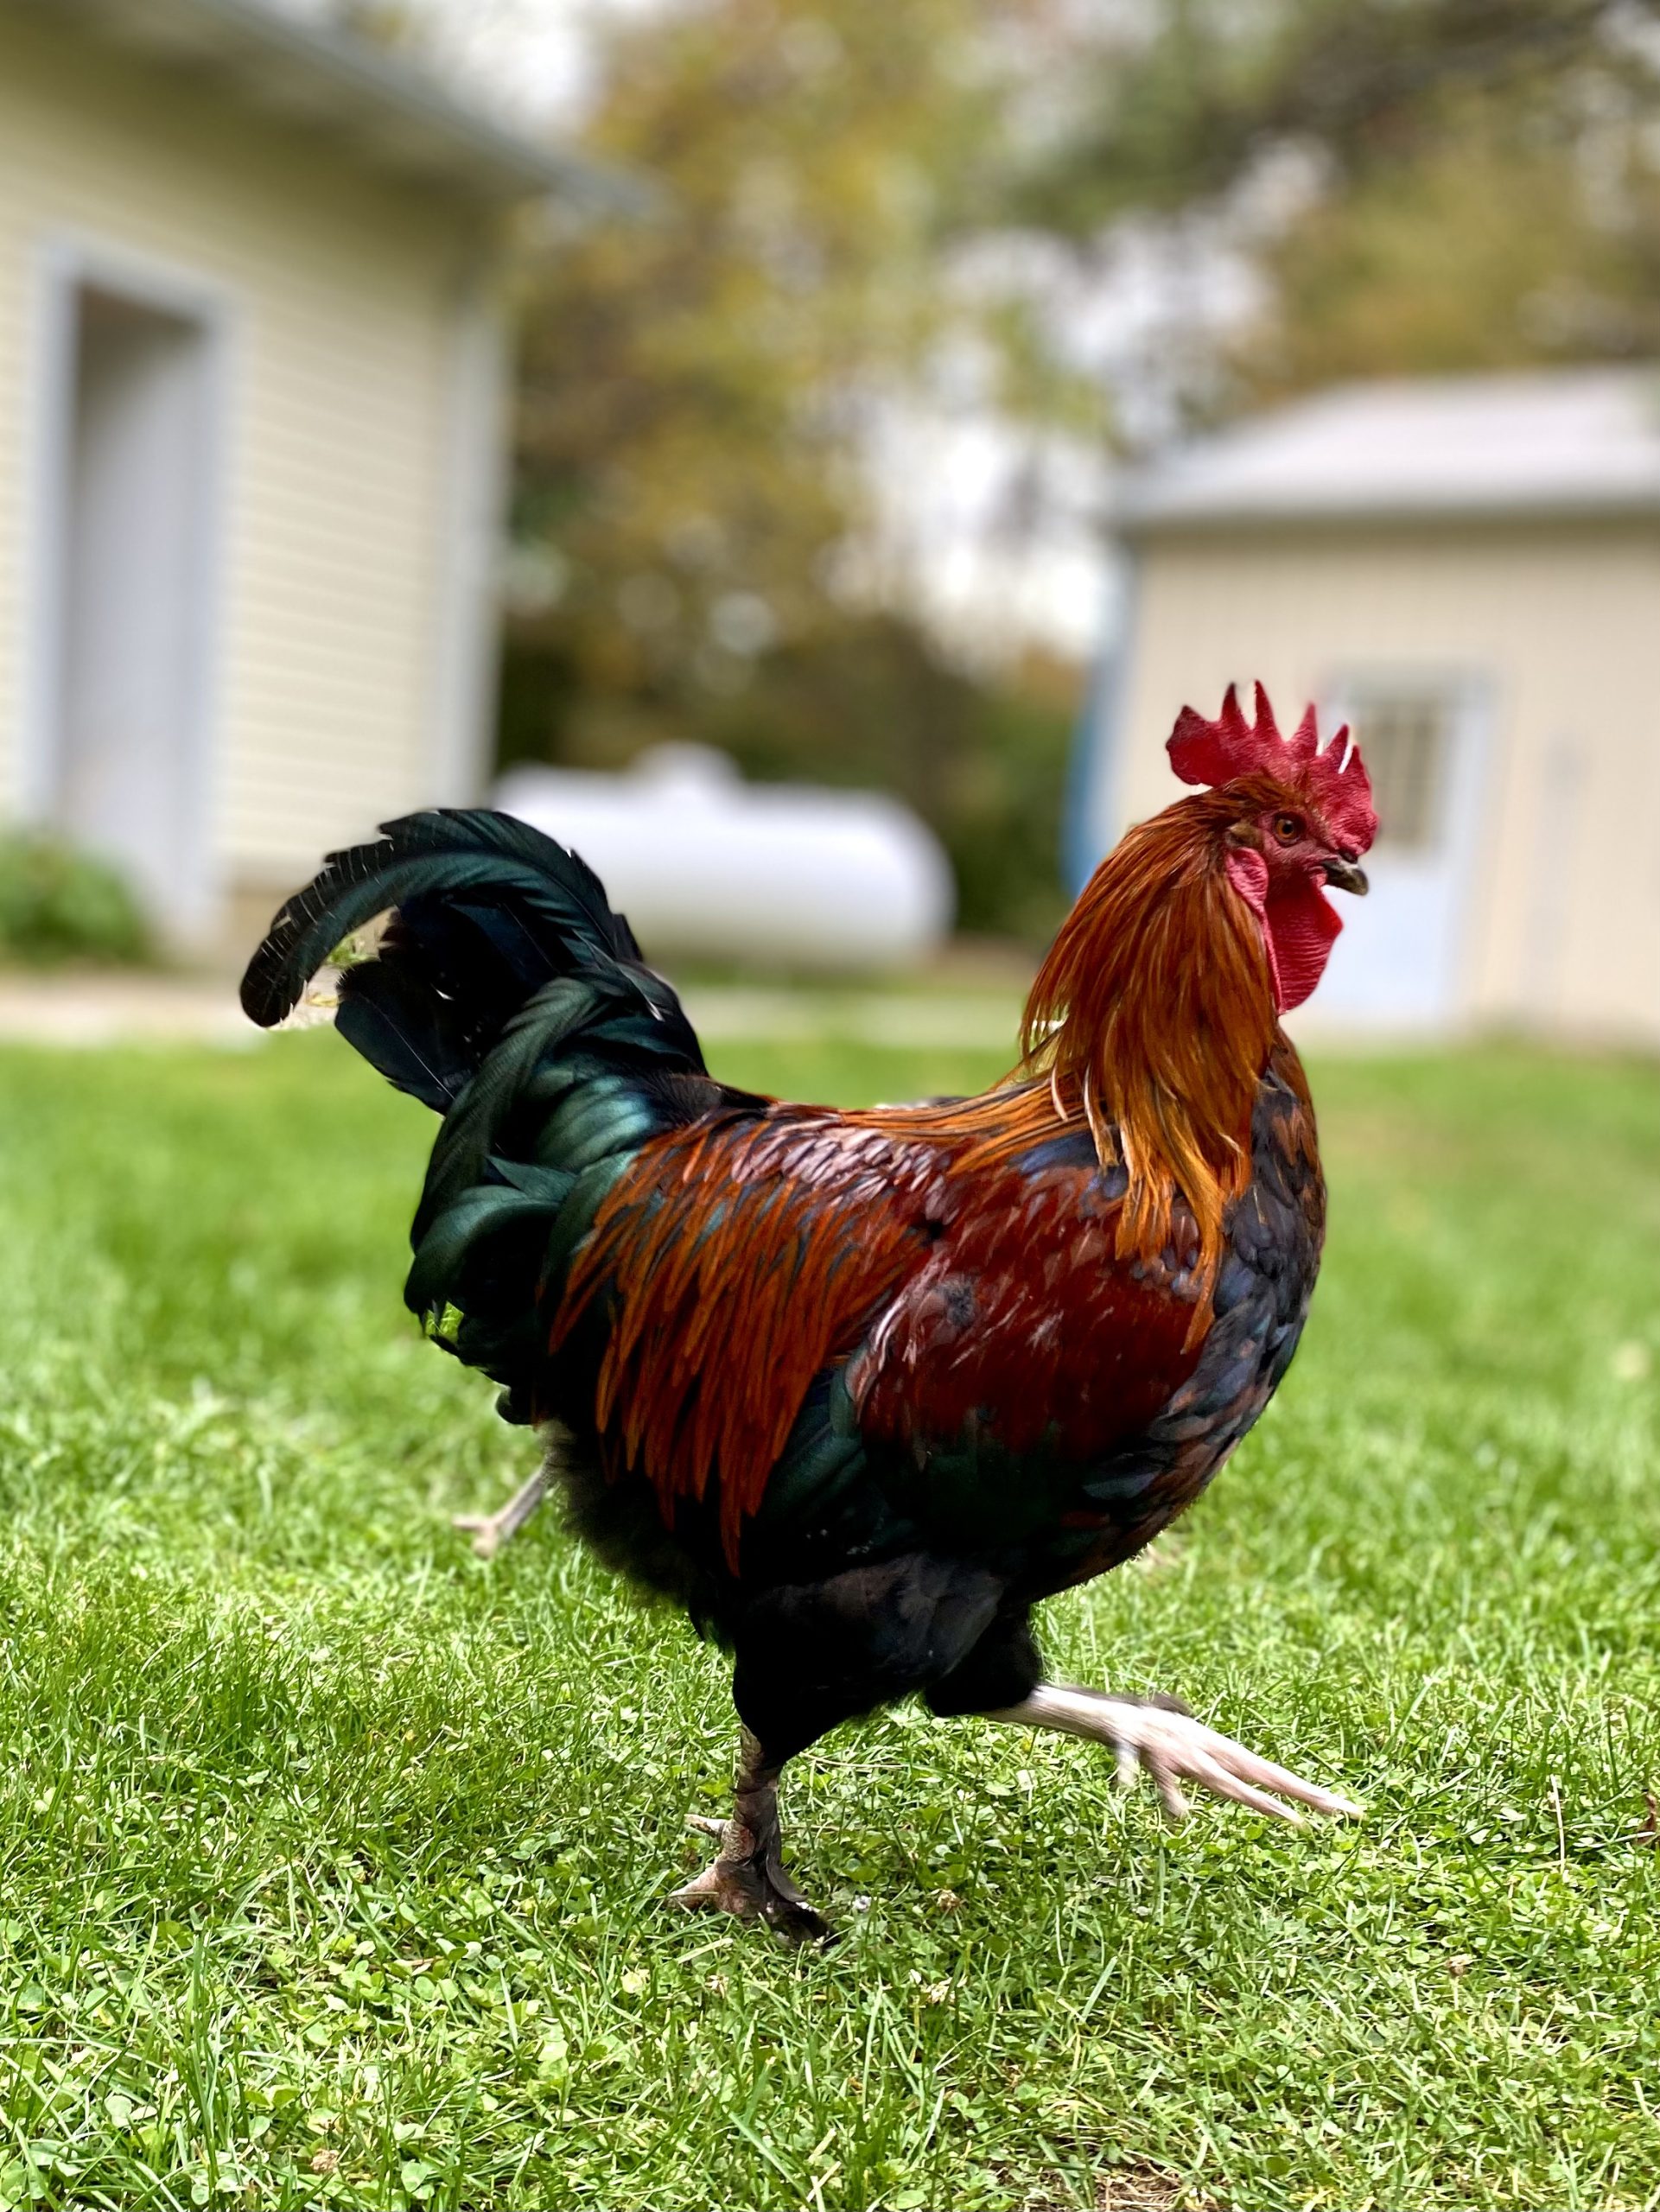
In homesteading, for every picturesque scene that is shared on social media there are many less glamorous tasks happening behind the scenes.

Take today for example – my plan had been to whip up some homemade pasta from the excess of eggs we have. However, I decided that the spring cleaning of the chicken coop was much more pressing so that garnered my attention.
After last winter’s cold snap with about a week of sub zero (Fahrenheit) temperatures that left my rooster with a bit of frostbite, I thought I’d give the deep litter method a try this year.
Most all chicken resources that you read will tell you to *never* add heat to your chicken coop in the winter. The reasoning being that if a heat lamp is used, you run a huge risk of a complete loss through fire. The other thing to keep in mind with wintertime heating is that if you’ve been supplementing heat to your chickens and you then lose power, the chickens will not be acclimated to the cold winter weather and are more likely to suffer as a result.
With deep litter, however, it is supposed to provide a gentle, natural heat that is safe and also not reliant on electricity. In a nutshell, you are essentially composting the litter substrate with the chicken waste inside of the coop. As the materials break down, they release a bit of heat which naturally warms the coop.
So I started with pressed pine pellets that turn to sawdust when they get wet – that’s my typical bedding that helps keep odors down. As that layer was used and almost entirely turned to sawdust and evenly moist, I sprinkled on some barn lime to help with odors (NOT hydrated lime – hydrated lime will burn the chickens’ feet!). Then I added a layer of pine shavings. The chickens will typically turn the bedding compost for you, but if you notice that they are not, then you need to turn it with a pitchfork or a shovel.
Continue to add more barn lime & pine shavings as each layer breaks down. It’s important to make sure that your coop has adequate ventilation to release moisture from the litter and to prevent ammonia buildup in the coop. By springtime, you should have a good amount of ready to use composted bedding and chicken waste for your garden.
However, since I grow predominately food in our garden rather than ornamentals, I’m choosing to add this litter to a compost pile to be hot composted in order to kill any pathogens from the manure before it would be in use as a fertilizer. If I can get my ratios right, the compost should be ready for use within 6 weeks.
After today’s not-so-glamorous tasks, the chickens were thoroughly pleased to have a freshly cleaned coop, and I’m eagerly looking forward to the benefits to the garden!

